Tuesday, December 18, 2012

DIY Plate Stand


So, you remember my thrift finds from a while back? 


These guys were put to the test.

Lo and behold, I came out with a plate stand.


This was seriously one of the simplest crafts I have ever made. All I did was silicone the top and bottom to the plates. And thats it.  For real.


Plates = .99/ea
Crystal candle holder = 2.50

Total = $4.50


Fist pump.

Thursday, December 6, 2012

Sweater sleeve leg-warmers


 What do you do with an old sweater? Warm your legs up of course. 


Cut the sleeves off just like this.


And put 'em under boots! Easy as pie.

Speaking of pie, time to go have a slice of pumpkin.


Thursday, November 29, 2012

Thrift Finds!

Sometimes I get lucky... and most times that makes me very happy.

I found this little number a little while ago... I was quite delighted to find some unique things.

Here is number 1!


I have ambitious plans to spray paint.  Very ambitious plans.


And now for number 2.


You may be wondering what it is. Just let me do a little unfolding here and...

Tada!


Let's get some jewelry on there.


Its now on my dresser and ready for use! 


Saturday, November 17, 2012

Modge-podge Canvas & Chicken Silouhette

Well.. this is the big week. 
My restaurant is finally opening... !  The next few days will be full of decorating, getting all the details perfect and getting my staff all ready to go.

Our concept is breakfast -- breakfast means eggs, and eggs mean chicken.  Several chicken.  And some more "country kitchen" decor. 

Not really my personal style, but, I'm trying to make the best of it -- here's my attempt at adding one more piece to the puzzle. We'll see if it actually makes it up on the wall or a shelf somewhere.


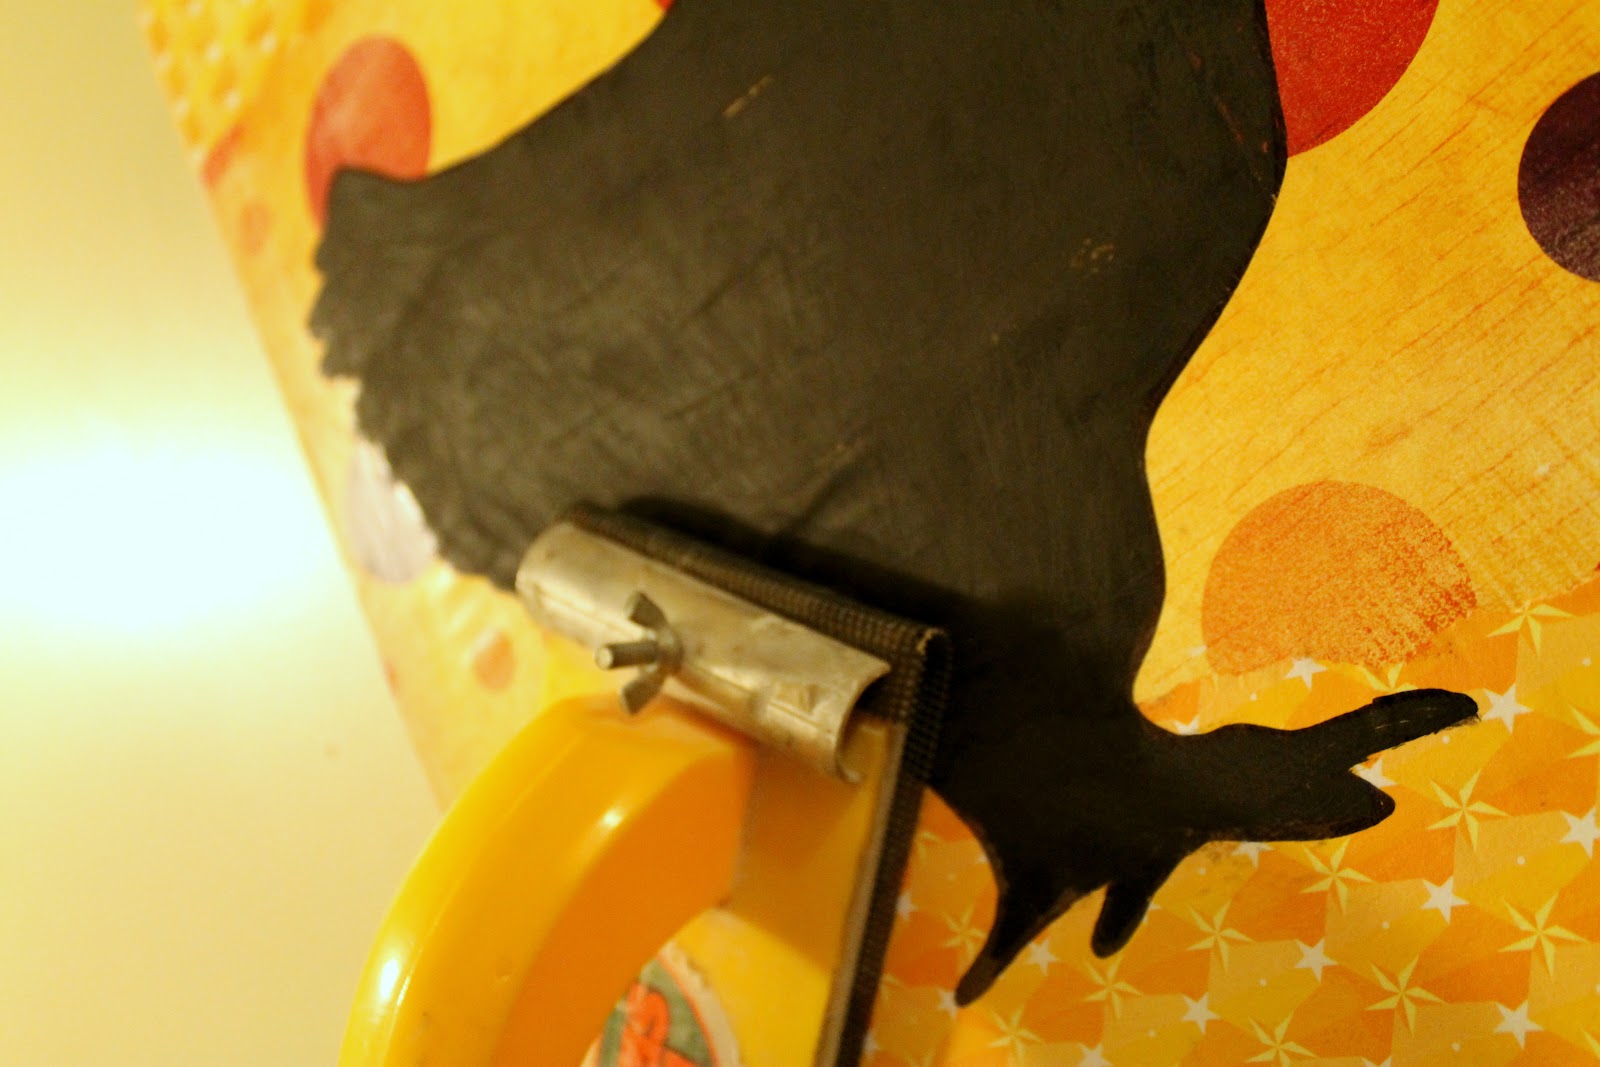
I started out with a canvas, and just modge-podged some scrapbook paper on. I ripped a couple pieces and blended them just to give it some depth.


Made a stencil of a chicken, traced it on and threw on the black.


I just ripped the pieces and put it over the background.


Tried to rough it up a bit -- 


And voila... !


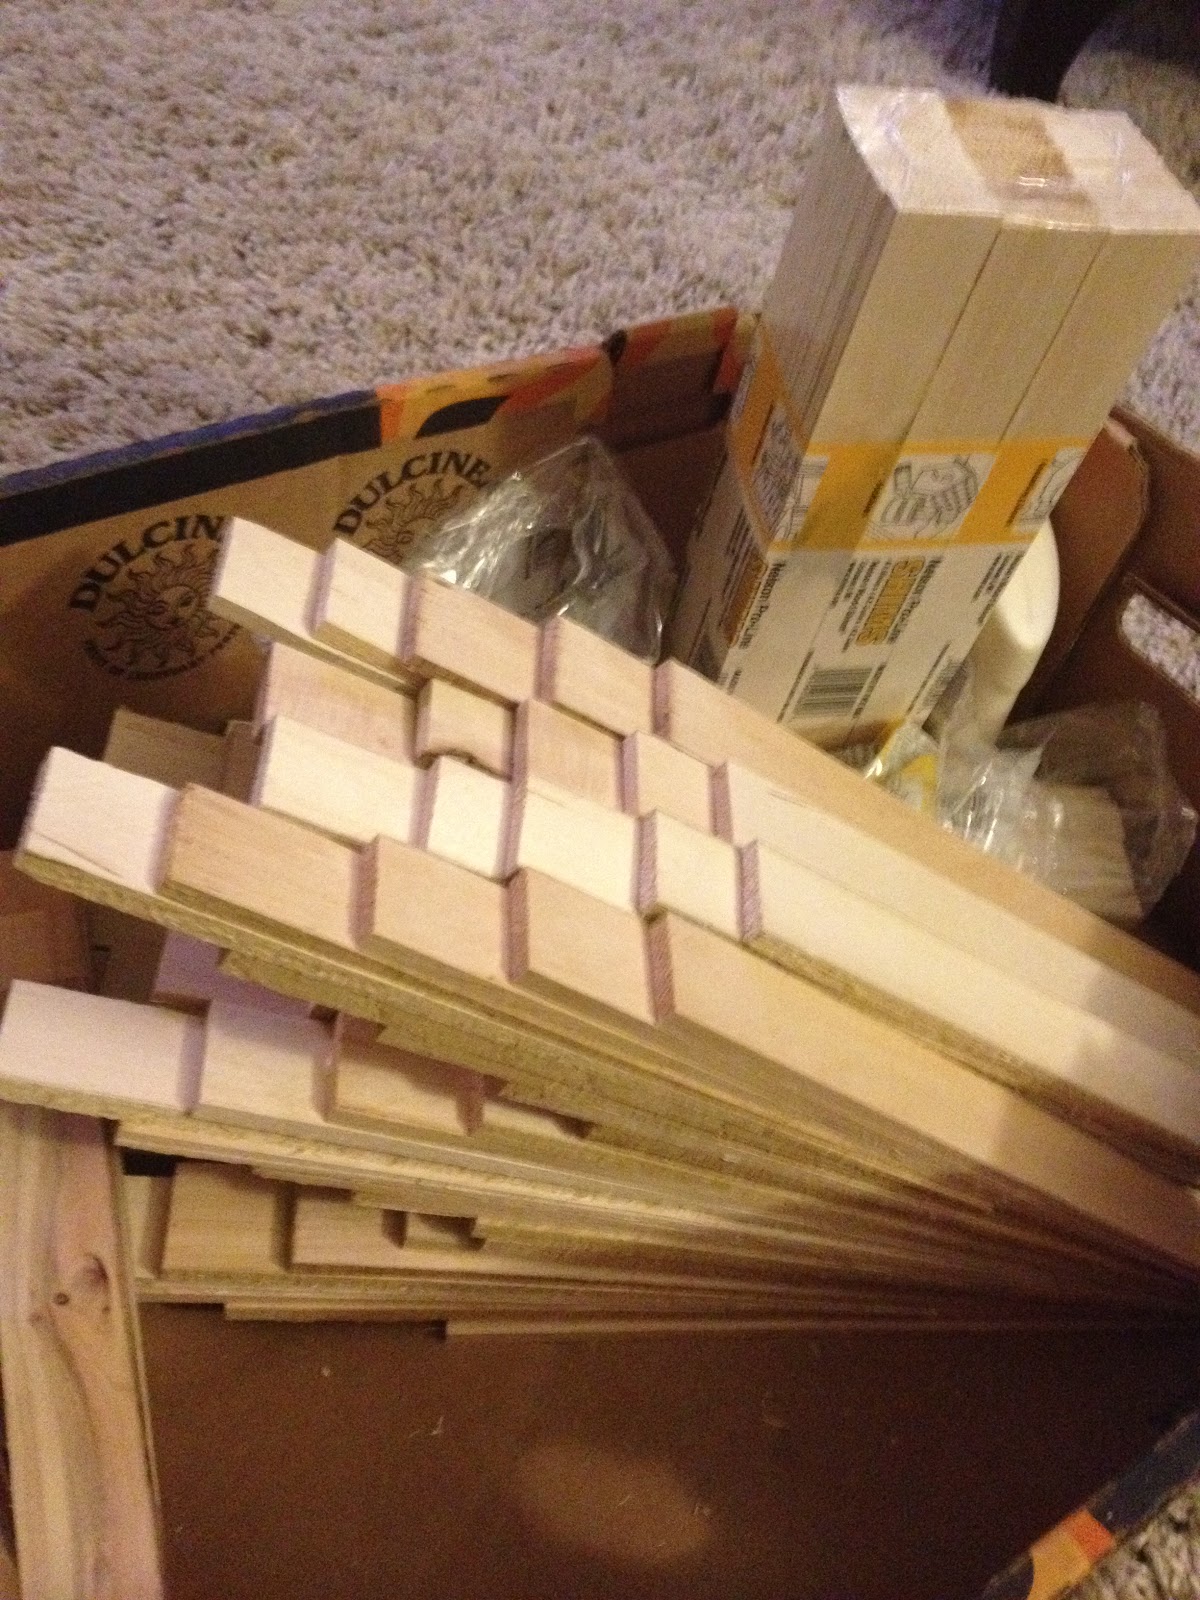
Here are a few more of the pieces I hope to incorporate!
To be honest, I either thrifted most of them or snagged them from grandma's garage sale...
Shh.. its a secret.

Updates to come of how they look on the shelves!


Saturday, November 10, 2012

DIY Sunburst Mirror

Okey Dokey Smokey, its getting a little winterish outside. I think I forget about this strange "cold" phenomenon every year. 

Every year about this same time, I start wondering "Why do I live in Saskatchewan??? -- where 40 below is as common as rice in China."  But then I remember the beautiful sunsets that I can actually see every day,  the wonderful people,  and the homey feeling here... and then I stay for another winter. It all evens out in the end. 

This has been my biggest project yet.... I can't wait for you to see it!!

Here's a sneak peak: 


It all starts with some shimmying to the left.
Or just some wood shims. Really, which ever you like better.


You can buy these guys pretty much at any hardware store. I got 2 different sizes to change up the layers.


Just glued 'em together with wood glue... staggering them so some go down lower.


Here's my big pile of em!


Next step, glue them all together to make a nice big circle :


Just a few more to put in there.


All glued. I filled the holes in with glue from a glue gun... just to make sure.  I thought about painting it at this point, but I actually really liked the different colors of wood. 


 My dad is awesome and helped my out a bit. I don't really use saws. Nor do I want to... Really it comes down to a self trust issue of cutting my hand off.


I measured this board for him to cut so it wouldn't show through the other side.  Then we screwed this board in to the wood so we could use it for hanging it on the wall.


Drill some little holes for the screws, like this one.


Then comes the mirror part -- these handy dandy guys held the mirror in place. Much less risk than gluing. Don't really want 7 years bad luck again.


Now they are all around!

And now... drumroll please...... 


Ta da! I found the mirror at Ikea -- it was a little bigger than I wanted, but I was tired of searching and gave in.


These tools helped me out with the hanging part.  I definitely had to find a stud to hang it because man, was that thing ever heavy! Ya, I'll skip the gym today. 


And a little Christmas decor to boot!

Saturday, November 3, 2012

Wallpaper Nightstand Re-do

Wallpaper is so from the 90's!!  

Not anymore people. It is totally in.  
And now there's some in my side table. OOh ya.


My materials:

1. Wall-paper sample
2. White paint & Primer
3. Tub of water
4. Hard plastic flat surface to smooth wallpaper
5. Exacto-knife
6. Ruler

Originally, this table was black, and it took about 2 coats of primer and 2 more of paint to get it white. I don't have any before pictures, but that's ok, you're not missing out on anything.  

The knobs were on sale at Homesense -- I don't like them 100% with the nightstand but it'll do for now.

I stopped by at Handy-Dandy Home Depot and actually just asked for a sample of one of the types of wall paper. Turns out it was enough to cover the entire inside.  Win.

I put the wallpaper on just like you would on the wall -- I soaked the wall paper in a tub of water, then pasted it where I wanted it on each side.  I used a flat card (kind of like a credit card) to smooth out the bubbles, then used an exacto-knife and a ruler to cut the excess off in a straight edge .

I'd highly recommend also covering the painted surface with a clear coat finish -- it helps a lot to keep it from scratching.  :) 

Tuesday, October 23, 2012

Fabulous House of My Cuz.


I went for a visit to cousin Terra's.  She's fabulous. So is her house. 
Come, I'll take you on a tour.


That ceramic lemonade container is a bold move. And its pretty much amazing.


The little tags are painted with chalkboard paint to write what's in the jars.. Cool.


                                                  The room of Etta James, their darling almost 2 year old.


It was obvious how much they love their daughter. How cute is this shelf!


Love this shelf with the little booties!


The chalkboard message wall.


Ya I know.  Pretty fabulous.

Good job Terr.

Related Posts Plugin for WordPress, Blogger...