Tuesday, December 17, 2013

Just Another Reupholstering Chair Day

There is tonnes of snow on the ground and close to minus 30! 
 Brutal Saskatchwan, Brutal.


So as I always say -- When life throws you snow, reupholster chairs.

I got these beauties both for $10 from a wonderful lady on Kijiji. 


Unfortunately, they were pretty ugly and stained.


 So I ripped off the fabric, while wearing a nose plug the whole time.  They reeked of the 1950s. 

I was left with this lovely base - patched several times and the stuffing worn so much 
you could see through it.

I bought some foam and traced out the shape of the base on it. and cut it with an exacto knife. Fun! 


I staple gunned the material to the base over the foam and base the same way I did my other chairs.  
Then I flipped em over and screwed them back into the frame.


And there she blows.  May have to stain the back too... although I do like the worn look.  
What do you think? Should I stain the frame as well?


Thursday, August 29, 2013

Another Dresser Re-do

So, its been almost a month in my new townhouse and I'm thoroughly enjoying it.  A new chance to decorate, and of course I need some more furniture to fill the place! 

And man, that down payment just hurts. So I love doing things cheap. 

So I redo... that's just what I do.


Well here is another little guy I picked up from Kijiji, it was part of the set I posted earlier.


So first I just roughed him up -- an electric sander did the trick -- but I also had to use just some sand paper for the little parts I couldn't get to.  I made sure to wipe off all the dust with a wet cloth and let it dry.


Then, I painted just a white primer over all of it. 


And finally the 2 coats of regular paint...

As you can see -- what I did wrong on this one was use a roller that was for rough surfaces instead of smooth to semi-smooth, which I should have done -- so it left me all these bumps. Rookie mistake. 

Eventually I evened them out but it was a real pain. 


I really learned with both of these dressers that they are fussy little things! Each nook and cranny -- lots of prep work -- and all the little details really do count. When in doubt -- google it or ask someone that knows Don't just do it. 


Now he's my buddy - holdin my jewelry for me. He's a real help and fits nicely into my nook.

Thursday, August 22, 2013

DIY Dresser Re-do

You know what gets me excited? A chance to re-do some furniture!
I get that little tingly feeling inside and its hard to control.


I found this dresser on Kijiji along with 2 nightstands, a mirror, a bed frame and another taller dresser for $150. They are in immaculate shape. They were ok looking, but I bought them with the intention to do something magical....! 

So I sanded and painted, and painted some more and was quickly thrown into a mad fuss about getting it how I liked it.  I seriously did a primer coat plus 4 coats on this guy. He was a tough one to cover.

I spray painted the pulls silver - it was really the only thing I could do. I could not for the life of me find a size to match the small ones... but that's ok, I actually really like them how they are.


First, I used this as a buffet in my dining room... and recently moved it to hold my ancient TV. Gotta love the versatility! Hopefully with the money I saved on this I can replace the tube... When you can barely lift one of your electronic pieces these days, you know its time to replace :).

So the moral of the story is -- look for potential in the furniture you look at! Think of every possibility and you will save a lot of bucks!

Wednesday, July 3, 2013

Chevron Pillows

I get sick whenever I see pillows for sale for $20.  
Honestly?? They cost like $2 to make.  The business woman in me just thinks Cash Grab!!

Usually I always say I'm going to make them but never do. So I end up with no pillows. Well, it finally happened. I made some pillows out of the leftover material from my lamp shades. 

I took that sewing machine by the horns. Cut two identical rectangle pieces, flipped them inside out and sewed all the sides together, leaving a little gap for to stuff it.


Wow do they ever take a lot of stuffing. Then I just hand sewed the rest. Easy peasy.


Saturday, June 15, 2013

Reupholstered Folding Chairs!!

Some times you just need to spice life up a bit.


I bought these chairs at a garage sale a little while ago! I got a great deal.. but they just needed a little somethin' somethin'.


This is the fabric I got from Ikea a while ago. I was originally going to make pillows. Then I realized I already had 10 too many.  A little bit addicted...? I think so.
So... I thought I would try strappin' it on to my 'soon to be' lovely chairs.


So I flipped 'er over and unscrewed the seat from the chair. 


Measured out just the right amount of material so there was about 1-2" once I pulled it over the chair.


My handy dandy staple gun did the trick here. I had to pull super tight when stapling the opposite sides. No bumps wanted. 


The corners are the tricky part. I tried a couple different ways- I found it most successful when I looked at the front of the seat and just folded it with my hands behind there - then stapled it as soon as I got it good. I found it easy to fold over one piece at a time - like shown above.

This is an example of a not so good corner.

I did better on this one. :)

I had to find the holes for the screws through the material -- that was a little bit tough at the beginning but it became easy as I did it more. 


 And here they are. I was just a tad bit proud of these guys. They were way easier than I though and literally only took me 1 hr for four of them. 

Might be doing a little more of this in the future....!


Thursday, March 14, 2013

New curtains!

I put new curtains up in my bedroom. My life just keeps getting more and more exciting. 
Ya I know, real exciting.


Ya I just threw it all out there.

And there she is folks.
Ahh so much better!

Now to find some different shams to replace my blue ones. This is just a never ending battle.


Friday, March 8, 2013

A Little bit o' the Home

Ok, so maybe its about time I show a little of my pad.
Don't be too hasty. One piece at a time.


My papasan chair is my staple book reading chair, and also the occasional nap spot. If it were a person, I'd probably marry it. But since it isn't, I'll settle for the odd snuggle.


I posted a while ago about reorganizing your bookshelf. To be honest, I just really love bookshelves in general.  For a long time, I'd been wanting a checker box book shelf -- so last year I finally got one and I absolutely love it. 

So there you have it... just a few of my fav's that I felt compelled to share!

Friday, January 25, 2013

DIY Fabric Lamp Shade Re-do


I found a pair of lamps at the Salvation Army for $10..... I just had this image in my head of how great they could be!! They had a great shape, were in great condition and I really liked how big they were. 

So here's what I came home with:  2 of them to be exact.


What you will need:

1. Lamp shades (preferrably same length on top and bottom)
2. Spray adhesive
3. Glue gun 
4. Fabric 


I bought some great fabric from Hobby Lobby, and I saw some chevron material that I loved immediately. 
First, I measured the length of the shades and cut out the material, and left a few more inches on each side to fold over the top.  

I took spray adhesive and sprayed the back of the fabric, slowly wrapped it around the shade, smoothing it as I went.  I would recommend gluing the top and bottom with a glue gun just to secure it.


Put the pieces together and here they are!


Tuesday, December 18, 2012

DIY Plate Stand


So, you remember my thrift finds from a while back? 


These guys were put to the test.

Lo and behold, I came out with a plate stand.


This was seriously one of the simplest crafts I have ever made. All I did was silicone the top and bottom to the plates. And thats it.  For real.


Plates = .99/ea
Crystal candle holder = 2.50

Total = $4.50


Fist pump.

Thursday, December 6, 2012

Sweater sleeve leg-warmers


 What do you do with an old sweater? Warm your legs up of course. 


Cut the sleeves off just like this.


And put 'em under boots! Easy as pie.

Speaking of pie, time to go have a slice of pumpkin.


Thursday, November 29, 2012

Thrift Finds!

Sometimes I get lucky... and most times that makes me very happy.

I found this little number a little while ago... I was quite delighted to find some unique things.

Here is number 1!


I have ambitious plans to spray paint.  Very ambitious plans.


And now for number 2.


You may be wondering what it is. Just let me do a little unfolding here and...

Tada!


Let's get some jewelry on there.


Its now on my dresser and ready for use! 


Saturday, November 17, 2012

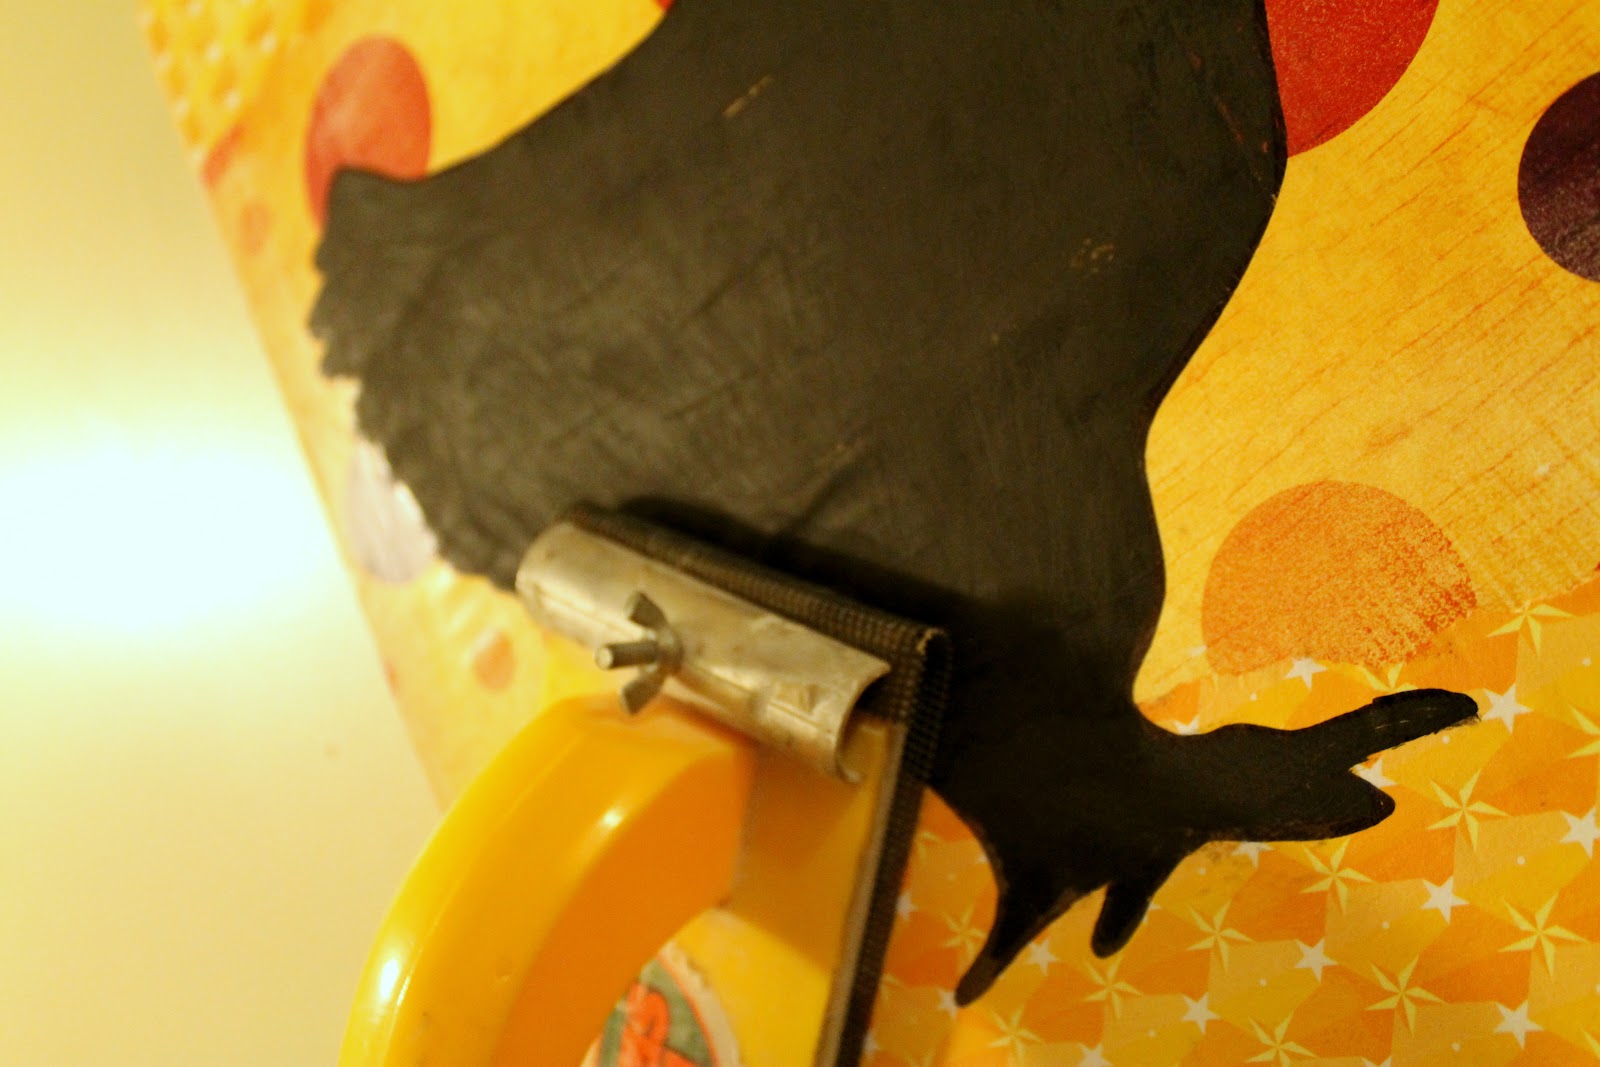
Modge-podge Canvas & Chicken Silouhette

Well.. this is the big week. 
My restaurant is finally opening... !  The next few days will be full of decorating, getting all the details perfect and getting my staff all ready to go.

Our concept is breakfast -- breakfast means eggs, and eggs mean chicken.  Several chicken.  And some more "country kitchen" decor. 

Not really my personal style, but, I'm trying to make the best of it -- here's my attempt at adding one more piece to the puzzle. We'll see if it actually makes it up on the wall or a shelf somewhere.


I started out with a canvas, and just modge-podged some scrapbook paper on. I ripped a couple pieces and blended them just to give it some depth.


Made a stencil of a chicken, traced it on and threw on the black.


I just ripped the pieces and put it over the background.


Tried to rough it up a bit -- 


And voila... !


Here are a few more of the pieces I hope to incorporate!
To be honest, I either thrifted most of them or snagged them from grandma's garage sale...
Shh.. its a secret.

Updates to come of how they look on the shelves!


Related Posts Plugin for WordPress, Blogger...