Monday, September 24, 2012

3-Tier Rack Re-do


My mom has had this rack in our kitchen for the last 15 years or so. Well, up until the last 2-3 years. It got tossed to the garage sale pile... I, of course had to snatch it up right away.  :)


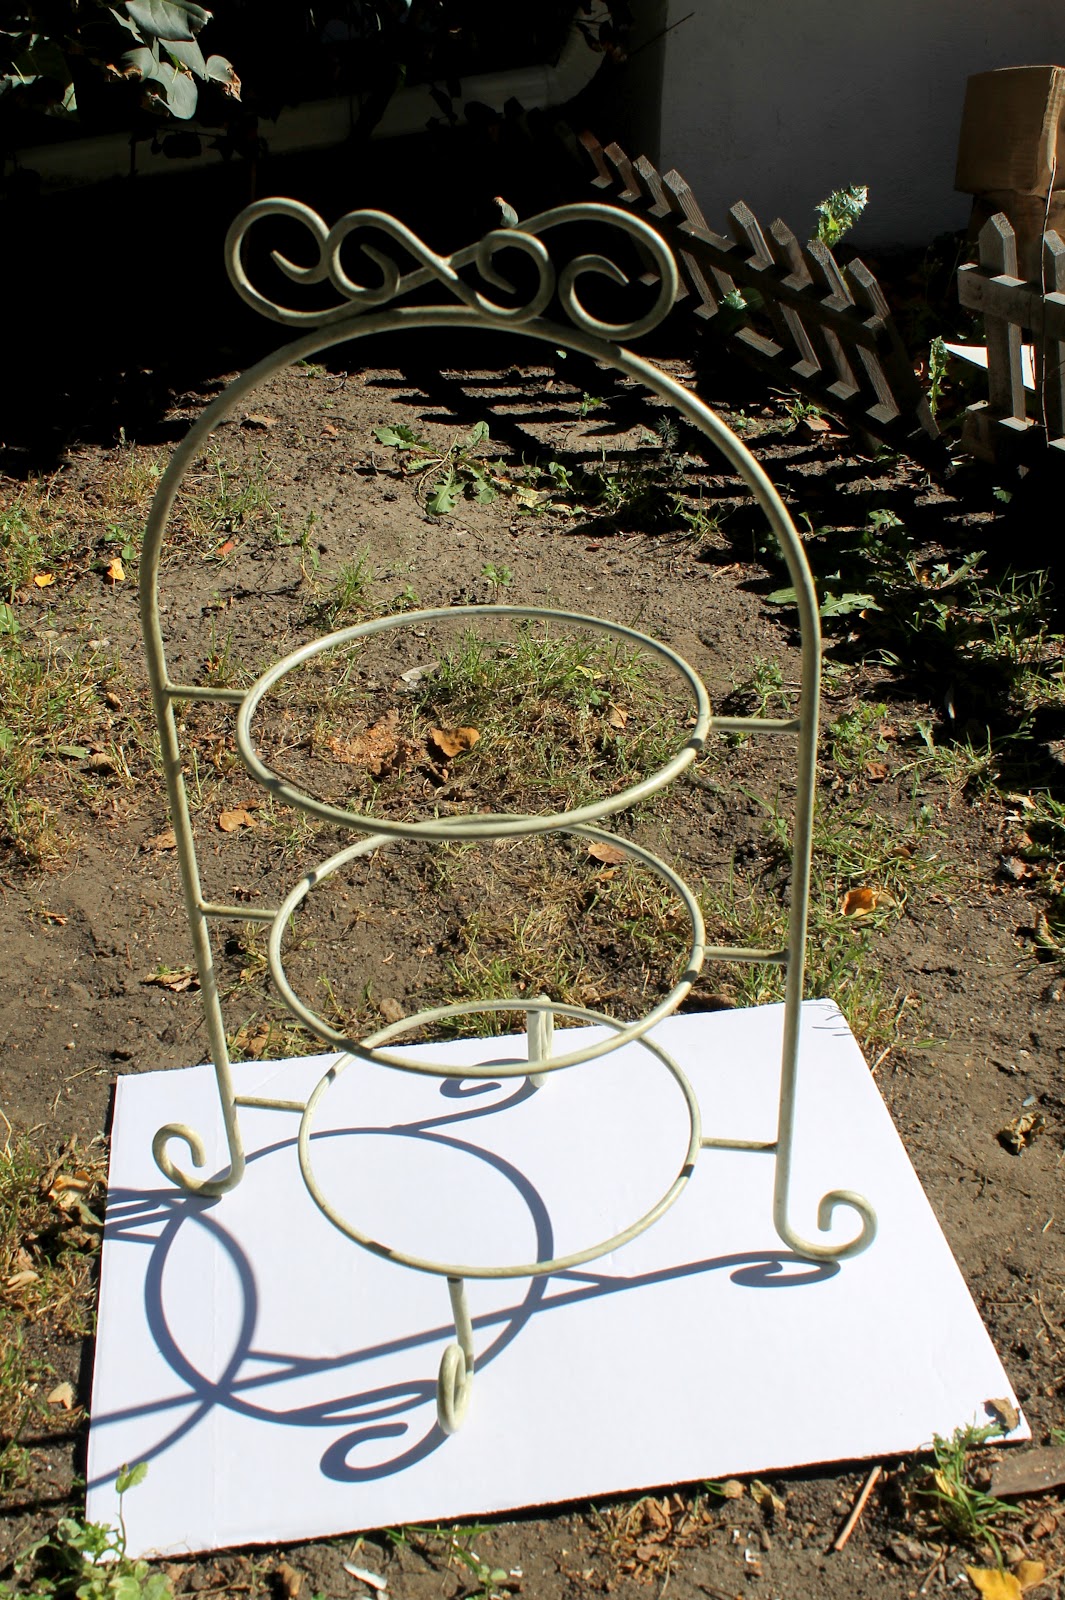
Here it is -- it's a light green color.  Ok, there are nice light green colors, 
but this guy just reminds me too much of the 90's. 


I figured it needed a little shaping up... so I did what I always do.. spray paint!


I used a Satin Matte finish and made sure I got every nook and cranny.


My plan is to actually put this in my bathroom to either put wash cloths or towels.

I could even use it for some make up -- then I can just grab the basket and do my daily routine!
I could also put some plates in there and use it for fruit in the kitchen.


Ok, now I'm going to ask you for help -- how else can I use this rack?
I'm sure there's a lot of good ideas out there!

I'll let you know what I end up doing and take a pic of where I put it!


Tuesday, September 18, 2012

How to fix your bookshelf!

I visited my amazing grandmother last week.  Between several giggles and the usual mischief, I helped her out a little with her bookshelf.  And no, I do not have an inert need to organize everything I see... cough, cough, ahem. 


She has a lot of great accent pieces and some great books, both in color and shape-- we just need to fit them in where they are working with each other!

If you want a change with your book shelf -- Here are some of the things I did:

- Play around with the books - stack some piles, stand others up, display some others
- Group by color and then preferably by size
- Look and search at pictures of what others have done for ideas 
- Use baskets and containers to break up continuity of books
- Try to make a focal point of the shelf - something that stands out more than the rest
- Little novelty items should be used for Bookends or as decor infront or  on top of books.
- Try moving some things around and experimenting! It might take some trial and error but it is so rewarding when you're done!


I tried to do a combination of laying books down, and standing them up. It helped spread things out a little more.


I am a big fan of color coordination, so I tried to keep the cool colors (blues) and the warm colors together (reds).


Made some stairs for good 'ol moosey.


I tried to make a focal shelf right in the middle that was larger than the rest and included some pieces that catch the eye -- they were previously on the top shelf not doing a whole lot.


There were a lot of books to fit in -- I should have cleared some of those as well. 
All in all, I wish I could have just painted the shelf too! But that's another project for another day!


Tuesday, September 11, 2012

DIY Hemp lamp shade

Sometimes.... just sometimes,  Pinterest gets the better of me. Ok, maybe more than just sometimes. 


But here's the latest adventure with Pinterest written all over it.


What you will need: 

Beach ball, or large balloon
Hemp string ( more for larger size balls)
Clear drying glue
Something to hang up the ball (i.e. string on a pole) 


I started with a beach ball, it seemed the most practical since I would be able to deflate it. And - the inflater valve at the top is perfect for tying string around for it to hang.  (I just used a pole between two make-shift pillars!) 


I got a ball of hemp for about 6.99 at Michaels (with the 40% item discount of course)


You can use any kind of glue that dries clear -- I just used some clear Elmer's -- if you want something more sturdy, you can also mix that with some firmer glue, so its not totally out of your price range.  

My method was to pretty much coat the string in glue with my hands has I strung it along. Then wrap randomly around the ball leaving a good size circle in the middle to take out the beach ball and also to fit a light in there afterwards. 


I let it dry for a good 24hr and then felt gently around to see which parts needed more glue and recoated it.  Then I let it dry for another 24 hours and deflated the ball and gently pulled it out.


After all my hopes to put a light in there -- I might just keep it as decoration for now!  
It's nice I get some options with it - hang or set on table, light or no light!  
Versatility is always welcome here.


Wednesday, September 5, 2012

DIY Coffee Tin Twine Container

I enjoy coffee. Every person in their right mind does. Every seemingly joyful person does. 

It's just a fact of life. 

But the real problem is, what do you do with that precious tin when all the goodness is gone. I will tell you! Better yet, I can show you! 

What you need:

1. Glue gun
2. Empty Coffee Tin 
3.A heck of a lot of twine


Start it off with gluing the end piece at the bottom and swirling it around with, gluing as you go. It will take a lot of twine and a lot of patience. :)


Complete!


I think I will use it as a hair brush holder for now... although the possibilities are endless as to what it 
could hold! 


Related Posts Plugin for WordPress, Blogger...